Tooling Up
After clearing out the shed and making better space in there, I began purchasing
tools. So the saga continues...

Tooling Up |
||
| January 23, 2003 - My tools from Avery's arrived today. How exciting to see all these tools I have never used before. I chose Avery's over the others simply because there were many more tools in the kit - the kit costs twice as much or more but I'd rather go ahead and get the tools instead of have to order them one or two at the time as I discover the need, or having to go driving around town shopping whenever I need something else. | |
|
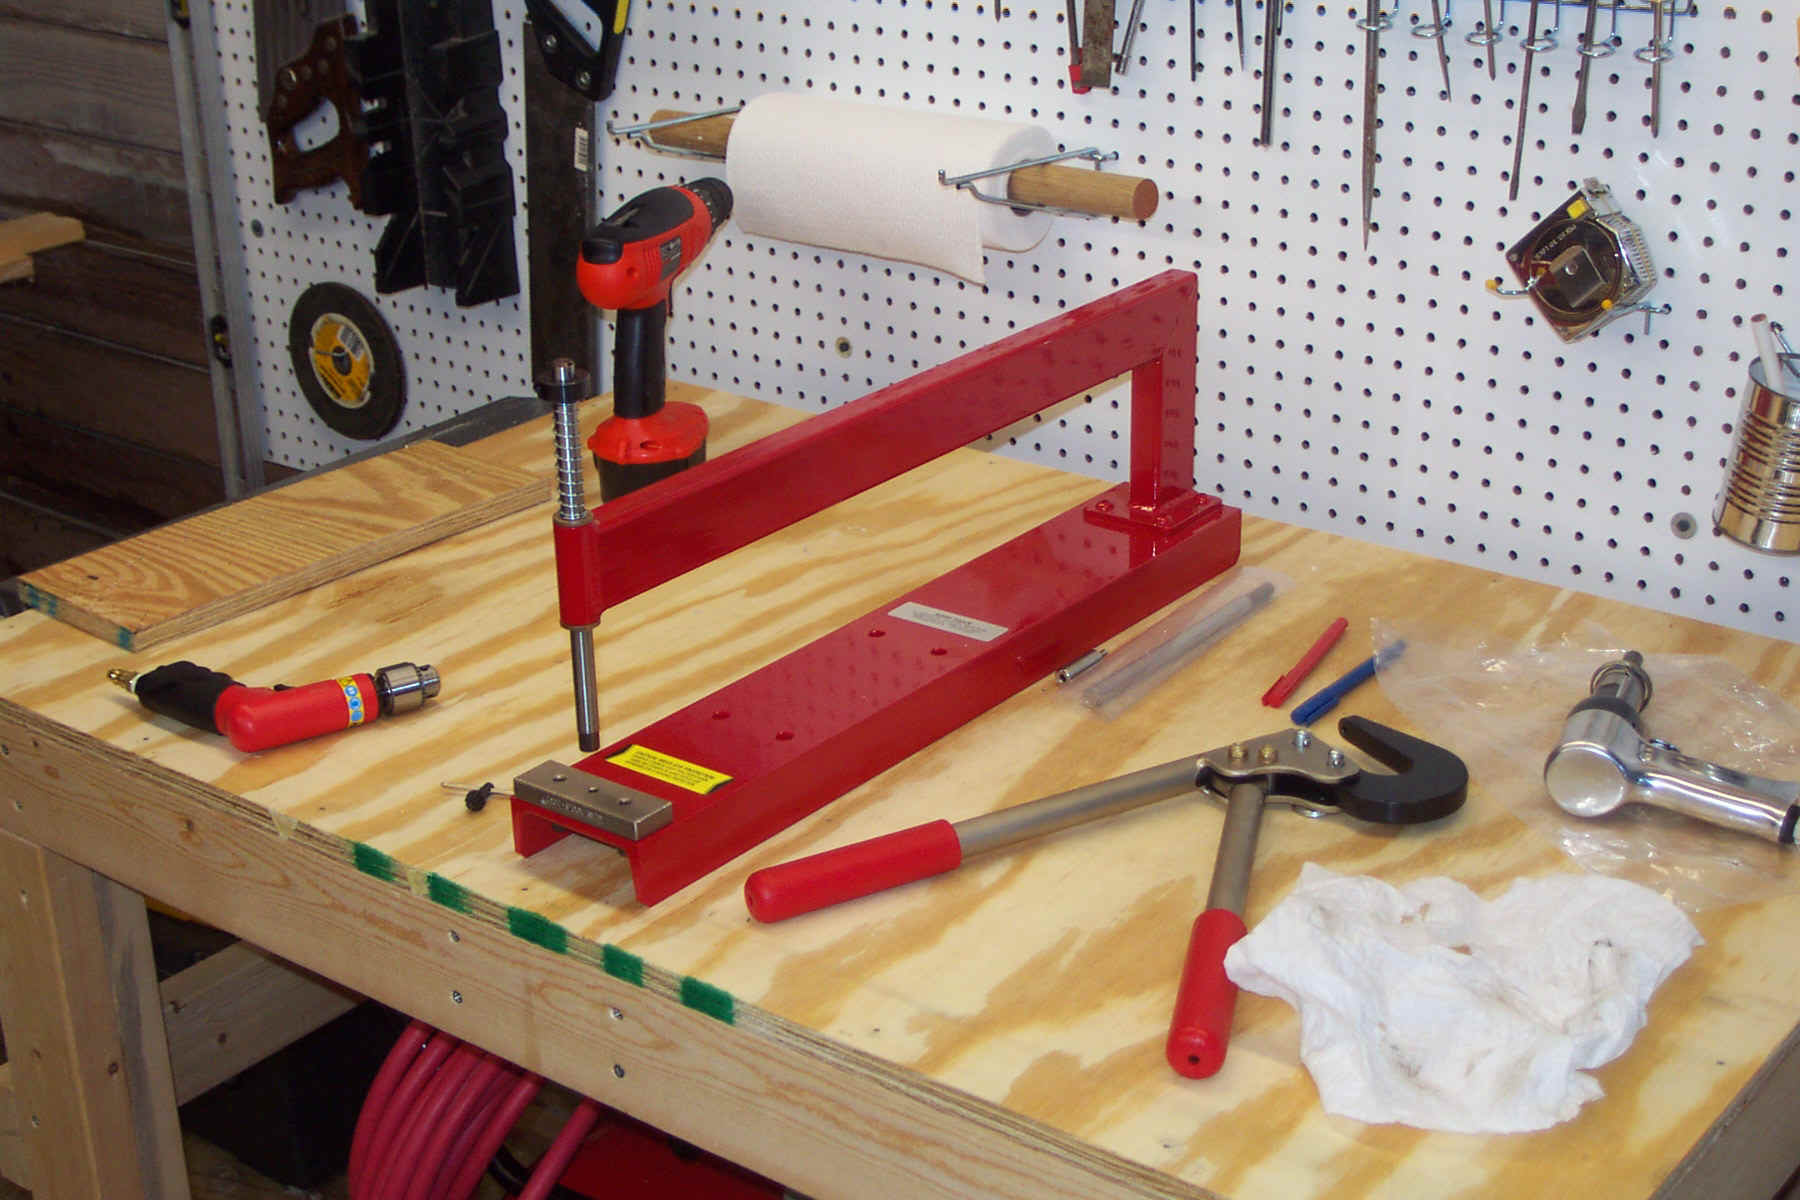
| This table I built by modifying the EAA1000 plans. It is convenient that after building the two EAA1000 tables that there is a 3'x4' piece of 3/4" plywood leftover to use for this. I used seven 2x4x8's for this table. It is 4 ft long by 2.5 feet deep by 35.25 inches tall. The rear side has a horizontal bracing member inset in the legs like the EAA1000 table, and two ends have horizontal bracing members fastened on the outside. The front is open to allow for moving the air compressor. Under the 3/4" table top in the center are two 2x4's spaced 3.5" apart running from front to back to support the riveting and dimpling tool.(Note the deck screws in the facing member showing where the 2x4's are installed.) | |
|
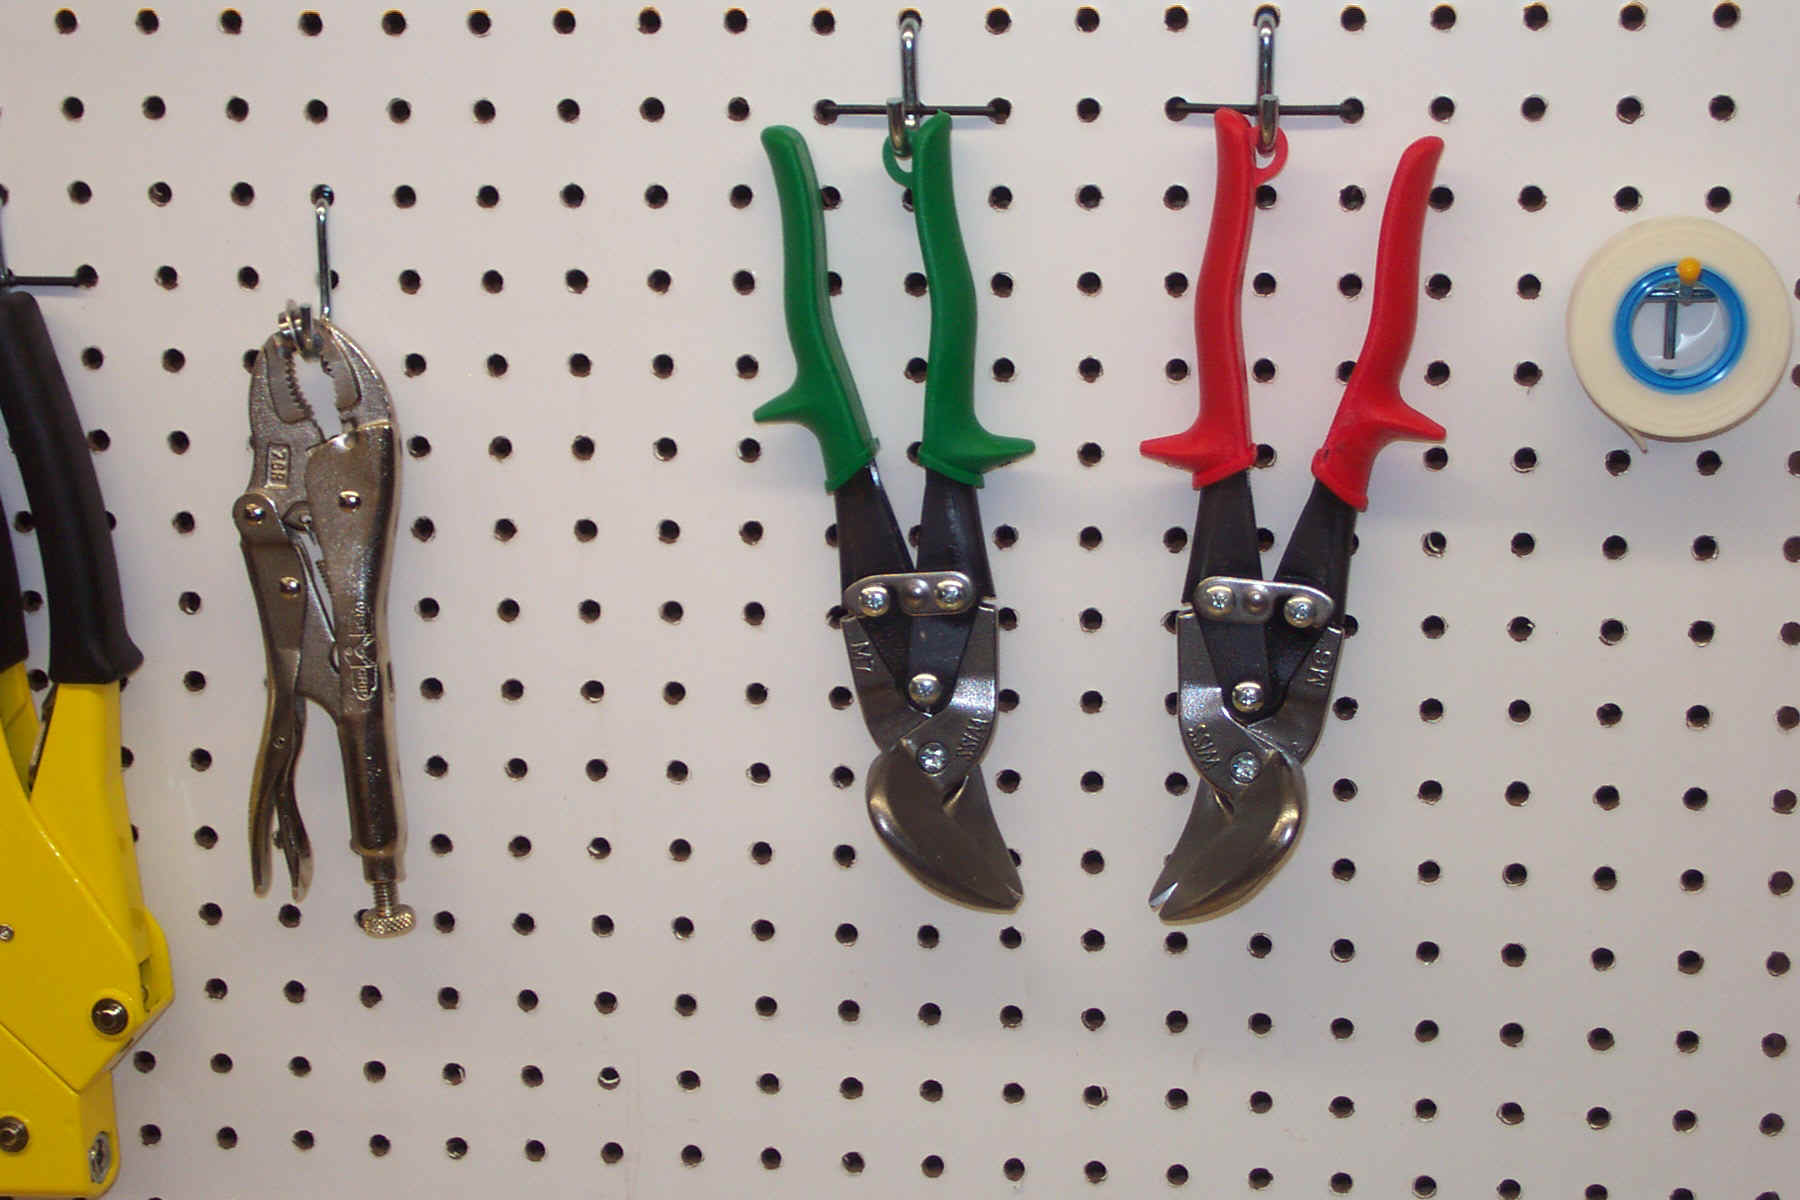
| Didn't take me long to see that the pair of metals snips shown here are color coded. The red one is the left handed one and the green is the right handed one. Think in terms of running lights on the wingtips of an airplane. Red on the left and green on the right. Probably not a coincidence. Use the red ones if the part of the metal you want to keep is on the left, and vice versa with the green. | |
|
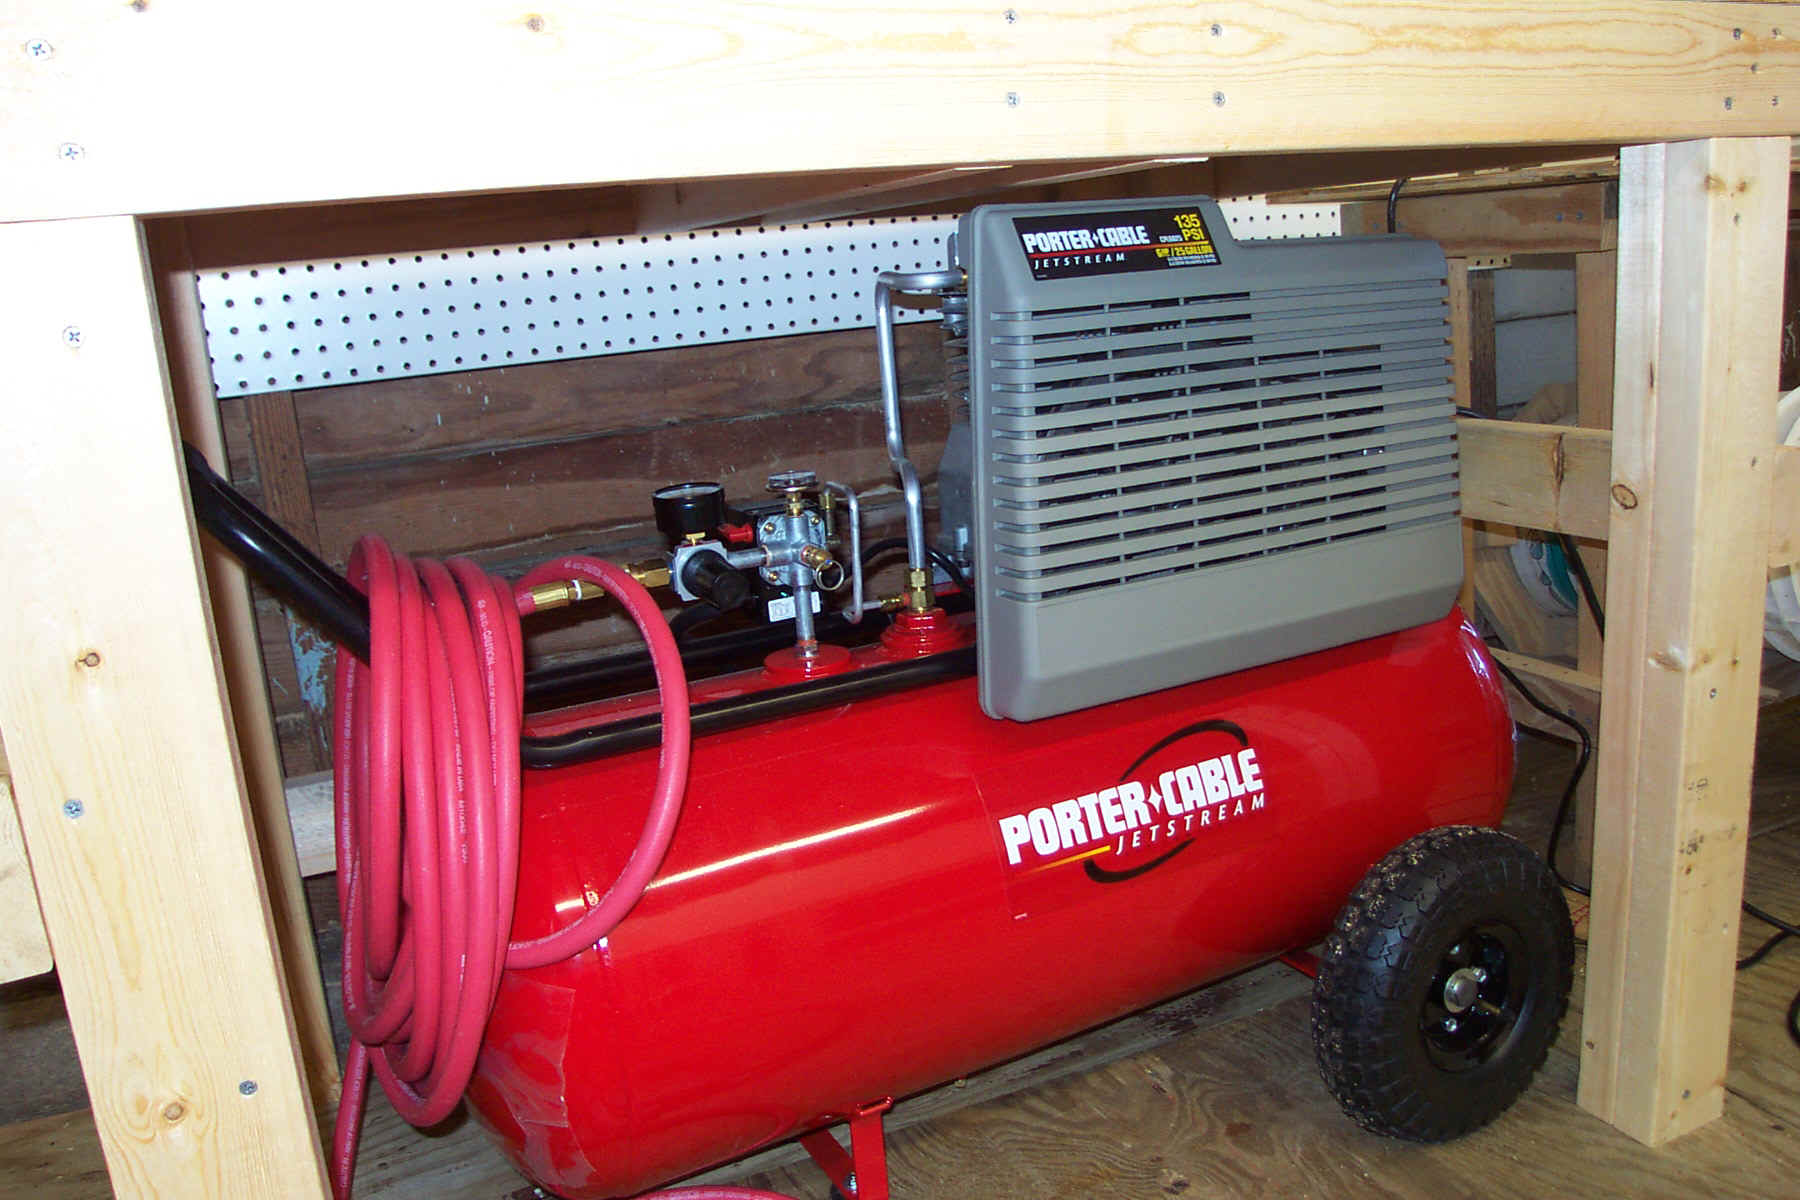
| This air compressor seems like it will do just fine. I needed a lower amp model since I have a 15A 120V circuit to the workshop. This is a Porter-Cable 12A, 120V, 25gal. oiled model. I followed everyone's advice and stayed away from "oil free" models. | |
|